So, I finally got tired of crawling behind my desk to play with my network connections. I looked around and found that a 24 port, rack mount patch panel only costs about $40, so I went out and bought one from http://www.acceselectronique.ca/
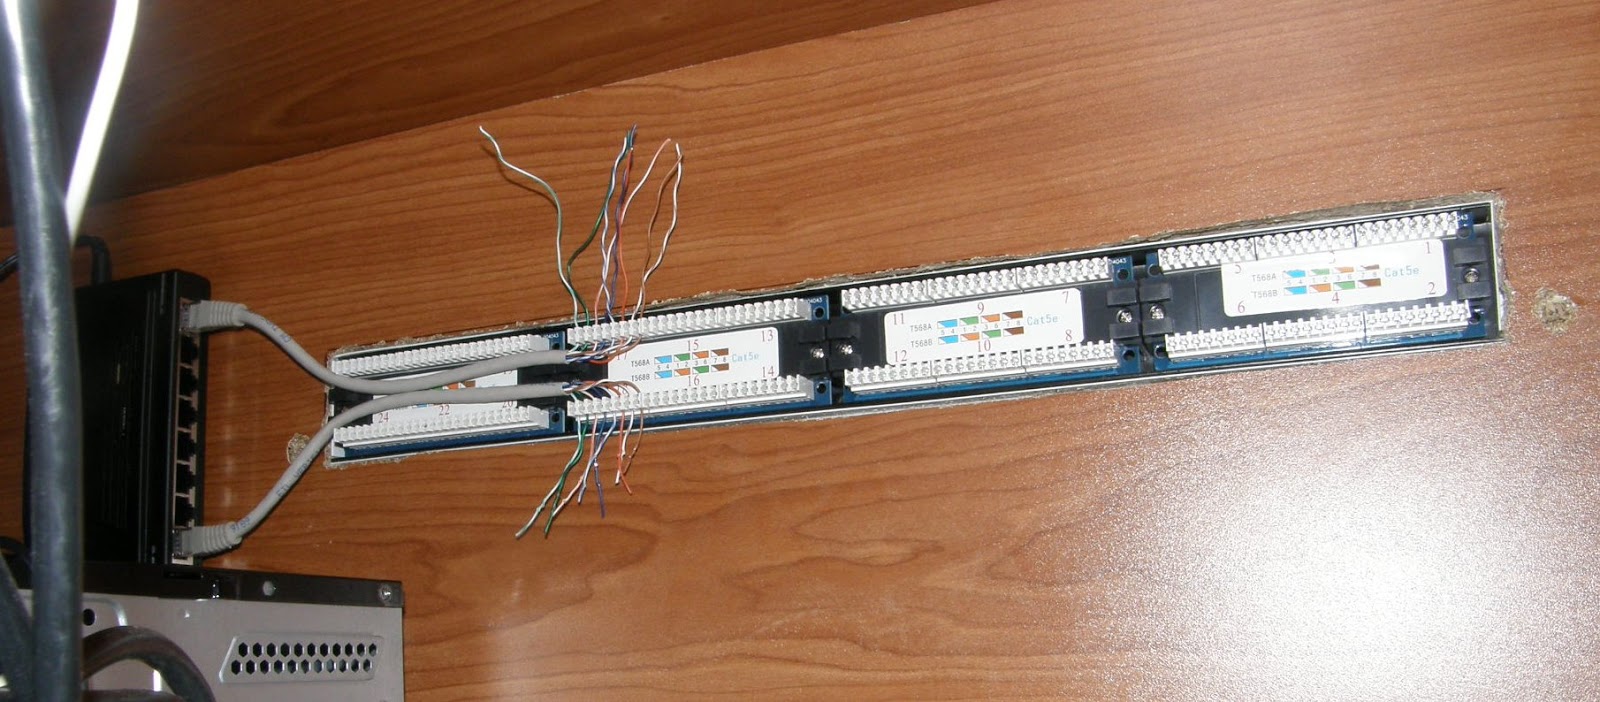
I don't have a rack at home, so after much noise and dust, I had an appropriate sized hole in the back of my desk. Some screws and trim and voila:
It took me a while to get the correct wires in the correct connectors, but eventually I got it working. By the way, it helps ENORMOUSLY to have the little plastic insertion tool to push the wires into the connectors.
Despite what I read on the internet about the more common wiring standard being T568B, I found that I had to follow the numbering indicated on the back of the patch panel that corresponded to T568A. Go figure.
Here's a close up of the wiring with the color code diagram
So far I've just wired up 2 ports of my network hub, but I have 22 of the 24 ports allocated in my head so far.
UPDATE:
Here are a couple of shots of it after finishing with all the wiring. Pushing 8 little wires into the back of each of the 24 positions is a lot more work than I thought it would be.


It took me a while to get the correct wires in the correct connectors, but eventually I got it working. By the way, it helps ENORMOUSLY to have the little plastic insertion tool to push the wires into the connectors. 250 mcm cable
ReplyDelete